Nobody likes stepping barefoot onto a freezing cold bathroom floor on a winter morning. Bathroom underfloor heating was once considered a luxury feature within a home, but it’s becoming an increasingly popular component in modern bathroom designs. This blog will talk you through each step on how to install underfloor heating in a bathroom and ensure your project is finished to the highest standard.
Remember to check out our other bathroom blogs for more advice and inspiration for your latest project, including step-by-step guides on topics like first fix and second fix electrics in a bathroom or how to tile a bathroom wall.
Naturally, fitting underfloor heating will add time and expense to any bathroom renovation project, but many customers will consider it worthwhile considering its range of advantages and benefits. Aside from the obvious perk of toasty feet, underfloor heating can help with even heat distribution throughout the bathroom, allowing the whole room to gradually heat up, and it can even reduce your energy bills, as underfloor heating uses far less energy than a radiator. Your bathroom will also feel a lot more spacious without a radiator, which is a great option for smaller bathrooms that are limited in space to begin with.
Bathroom floor heating is very easy to install, although you’ll need to dedicate a fair amount of time to the project. Once installed, it requires little-to-no maintenance at all, so you can enjoy a cosy bathroom floor every day without any additional hassle. Above all, installing electric underfloor heating is a fantastic way to give your bathroom a luxury feel as you reap the benefits every single day – and when it comes to moving home, this feature is sure to be a unique selling point that will increase the value of your home.
What to do before you install underfloor heating
It’s a good idea to get everything ready before starting on your bathroom underfloor heating installation. The process can take some time, but it’s very simple and straightforward.
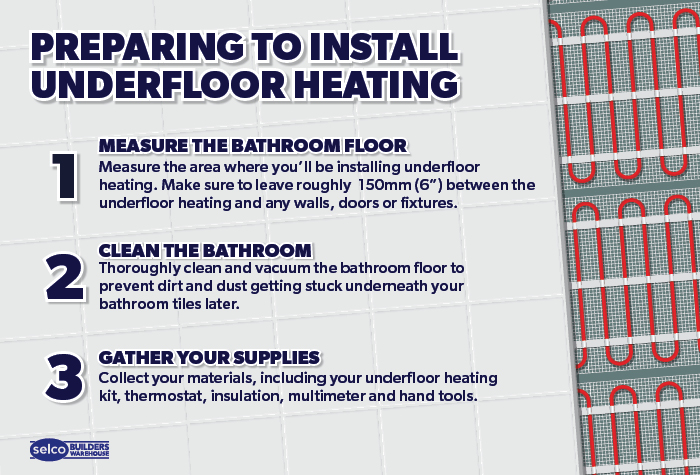
1. Measure the bathroom floor
Firstly, you’ll need to measure the space you want to lay underfloor heating. After you’ve got your dimensions, you’ll be able to calculate the amounts of different materials you’ll need.
Remember to consider any permanent bathroom fixtures and fittings as they won’t need any underfloor heating beneath them – you can subtract this from the area you’ll need to heat to avoid wasting materials and money.
You’ll also need to leave a gap of roughly 150mm (6”) between the underfloor heating and any walls, doors or fixtures, as you don’t want any of these to make contact. Accounting for this can help you save money when ordering your heating – but it’s a good idea to order a little more than you need to be safe, especially when you’re working around awkward areas.
2. Clean the bathroom
It’s important to make sure that your bathroom floor is as clean as possible before you start the process of installing electric underfloor heating. Once the underfloor heating has been laid, it’ll be extremely difficult to vacuum around all the nooks and crannies, and you don’t want any dirt or dust getting stuck underneath your bathroom tiles, so clean up beforehand to save the hassle.
3. Gather your underfloor heating supplies
Here’s a list of materials you’ll need to install heated floors in your bathroom:
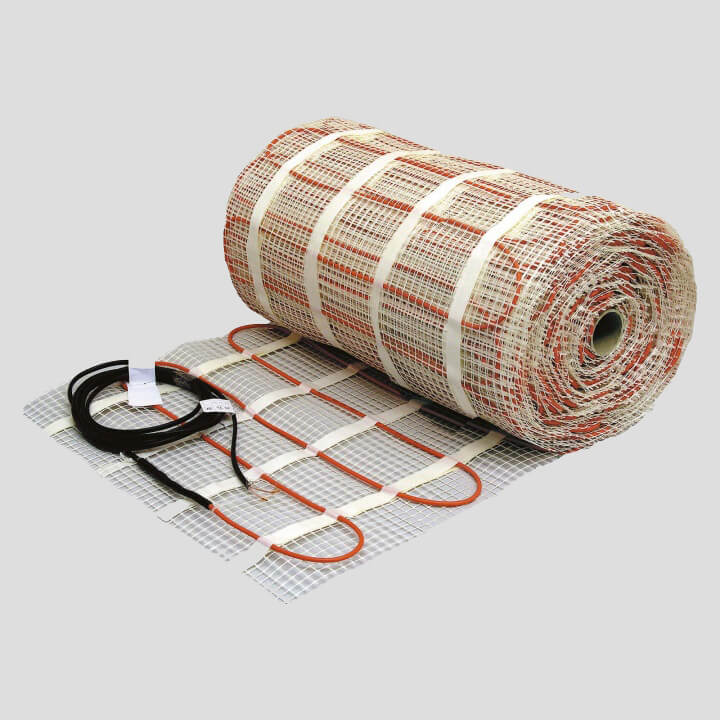
- Underfloor heating – this can come in mat or cable form. Loose cable underfloor heating is best for irregularly shaped bathrooms, whilst underfloor heating mats are good for standard bathrooms.
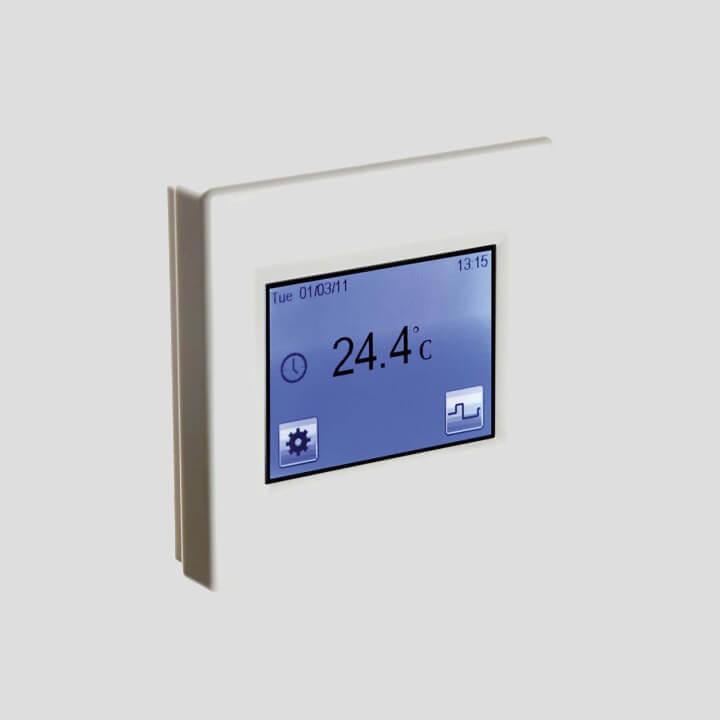
- Underfloor heating thermostat - to control the temperature of the heating. This is usually placed on the wall outside of the bathroom.
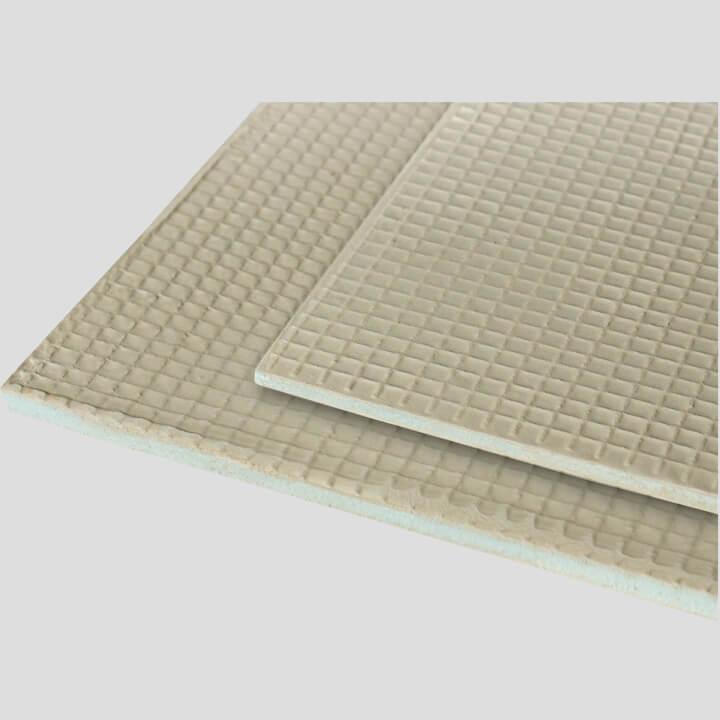
- Insulation boards / Tile backer boards / Underfloor heating underlay - this is optional, but a great way to retain heat within the room and boost your underfloor heating’s effectiveness and efficiency.
- Multimeter
- Waterproof tape
- Duct tape
- Scissors
- Tape measure
- Utility knife
How to install electric underfloor heating, step-by-step
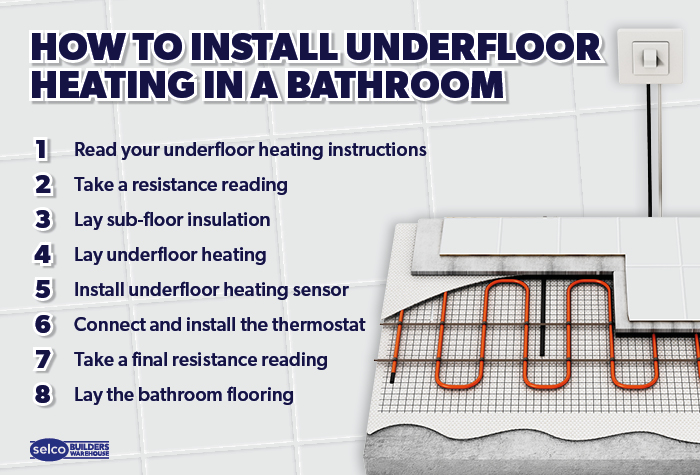
Now that you’ve got your measurements, cleaned up, and collected your tools and equipment, we can walk through the process of how to install underfloor heating on concrete floors or floorboards.
Step 1: Read the instructions
The most important thing to do after you’ve bought your underfloor heating system is to thoroughly read through the manufacturer’s instructions. Our guide will help you with the basic steps of how to install underfloor heating mats and cable, but it doesn’t act as a replacement for the official instructions that come with your product. Getting familiar with your instructions will save you a lot of time and hassle down the line.
Step 2: Take a resistance reading
Use a multimeter to take an accurate resistance reading from the ends of the wires attached to your underfloor heating, to make sure everything is working properly. Check the reading against the figures recommended in your instruction manual and continue to take readings throughout the installation process.
Step 3: Lay sub-floor insulation boards
Insulation boards, also known as thermal boards, backer boards or sub-floor insulation, can be laid down to sit underneath the underfloor heating system and prevent heat from escaping through the floor. This step is optional but highly recommended as it’ll help boost the effectiveness of your underfloor heating and retain higher levels of heat within the room. If you do choose to install sub-floor insulation boards, remember that it’ll slightly increase the overall height of your bathroom flooring.
If you’re working with a tiled floor, we offer a selection of insulated tile backer boards which work well with underfloor heating and tiles in wet areas like bathrooms.
Install your chosen insulation boards with a suitable adhesive on top of your sub-floor (which will be either wooden floorboards or a concrete floor) – you can cut your boards to size to fill any awkward spaces or turns using your utility knife. Connect the boards together using a waterproof tape, and if you’re laying underfloor heating on wooden floorboards, you can screw them down.
Step 4: Lay underfloor heating
If you’re wondering how to lay underfloor heating, it’s usually very simple. In most cases, your underfloor heating will consist of a mesh mat or sheet with an electrical wire attached to it. You can simply unroll the underfloor heating mat across the floor to cover the surface you need. Or if you’re working with loose cables that aren’t connected to any mat backing, you can lay this where desired by hand. Remember what we said about avoiding bathroom fixtures and leaving a 150mm (6”) gap.
The two wires that come off the mat/sheet will be attached to your underfloor heating thermostat, so make sure they’re as close as possible to it. When you’re happy with all the positioning of your underfloor heating, secure it to the floor using duct tape, ensuring no edges are sticking up.
If you need to turn a corner, you can cut the mesh sheet and rotate it 90° or 180° to change direction or go back on yourself. Or, if you’re dealing with a particularly awkward area, you can carefully remove the wires from the mat entirely using your scissors to cut them free. Position the wires by hand around awkward curvatures and fasten them with duct tape – always leave a 50mm (2”) gap between wires when they’re loose. Make sure to take another reading on your multimeter when you’re finished.
REMEMBER: Never cut the electrical wires, only the mesh sheet.
Step 5: Install the underfloor heating sensor/probe
The underfloor heating sensor (sometimes called a probe) will measure how hot the system is, so you’ll need to install it correctly to make sure your thermostat always shows an accurate temperature reading. Place the sensor between any two of the electrical wires within the mesh sheet close to the edge that is nearest to the thermostat and secure it down with some more duct tape.
You should take another reading on your multimeter here to make sure you haven’t damaged anything in the installation process.
Step 6: Install the underfloor heating thermostat
Again, you’ll want to follow the specific instructions from the manufacturer when it comes to installing your thermostat. Generally, you’ll need to connect the two wires that come from the mesh sheet to the thermostat, as well as the sensor, and mount the thermostat to the wall. It’ll need to be connected to the main power supply – this must always be done by a qualified electrician. Take one last reading on the multimeter to seal the deal.
Step 7: Lay bathroom flooring
Here, you’ll finish the job by installing your bathroom flooring on top of your underfloor heating. See our tips below on installing underfloor heating with different floor materials.
Installing underfloor heating under different floor coverings
If you’re working in a bathroom, you’ll probably be working with floor tiles. However, underfloor heating is compatible with other coverings, such as vinyl or laminate flooring and wood flooring.
How to install underfloor heating under tiles
After installing your underfloor heating system, you can apply your tile grout directly over the underfloor mesh sheets, which is a great way to seal and secure the wires in place. Remember to always have the power turned off as you do this – you never want wet grout or metal trowels meeting live wires.
It’s optional, but you can add a levelling layer to create a smooth, even surface before applying your tiles, such as tile matting to protect against moisture and prevent the tiles from cracking.
How to install underfloor heating under laminate and vinyl
It’s a good idea to acclimatise your laminate flooring to the heating temperature within the room for around 2 days – on average, the maximum temperature that laminate flooring can be heated to is 27°C. You’ll want to choose laminate boards that are thin (no thicker than 18mm) but with high density, which will mean the heating system will be more responsive and heat up quicker. Lay your underlay then install your laminate flooring on top.
How to install underfloor heating under wood floors
Engineered wood is a great option if you’d like wooden floors above your underfloor heating. As with laminate flooring, you don’t want the underfloor heating getting any warmer than 27°C. Lay down some suitable underlay over the underfloor heating then install your wooden flooring on top.
Get the supplies you need
FAQs
-
Can underfloor heating replace radiators?
If the room is well insulated and the underfloor heating covers at least 80% of the room’s floor, it can be used as the primary heating source.
-
Can underfloor heating be used with wooden floors?
Most underfloor heating systems are compatible with tiles, vinyl, laminate flooring, wood flooring (usually engineered wood) and sometimes even carpet. Always read the manufacturer’s instructions to determine compatibility.
-
Do I need to install insulation boards beneath underfloor heating?
It’s highly recommended to install insulation boards underneath any underfloor heating systems, to boost the system’s effectiveness and ensure heat isn’t lost through the ground below.
-
How do I measure my bathroom for underfloor heating?
Measure the width and length of the bathroom and multiply them together to calculate the area of the bathroom floor. Measure any permanent bathroom fixtures and subtract this from the area to get the total you’ll need to cover with your underfloor heating.
