
A well-built, sturdy driveway obviously plays a functional role in creating space for vehicles to park, but it also serves as an important design feature that your customers and passers-by will be looking at every single day. An aesthetically pleasing driveway installation can make a huge difference to a property’s appearance and can even contribute to its market value - kerb appeal is crucial to many people looking for a new home. Nothing takes away from a shiny new car than a dated driveway filled with potholes and weeds! Planning a driveway isn’t just about looks, though – it will need to stand the test of time too.
We’ve put together a handy guide below on everything you need to know about planning and laying a block paving driveway, including the benefits of block paving compared to other materials, how to lay a driveway with block paving and how to lay block paving on a slope, as well as how to seal a block paving driveway as the perfect finishing touch.
We've got plenty of other landscaping blogs for you to browse through to help you with your latest outdoor projects, such as how to build a garden wall or how to lay turf.
Block Paving Driveways vs Other Materials
There are endless possibilities for your customers’ driveway layouts, and they can be created from several different materials, each with their own advantages and disadvantages.
Gravel Driveways
Gravel is a popular choice when building a driveway as it involves a very cost-effective and straightforward installation. Gravel driveways offer excellent drainage too, but they can cause problems if not maintained properly. Gravel can easily be displaced by vehicle and foot traffic which can lead to potholes and pools of stagnant water, and it's also prone to the growth of weeds and can be difficult to clean.
Asphalt / Tarmac Driveways
Customers may opt for a tarmac driveway as it has great longevity and is protected with a seal that makes it a highly hard-wearing and durable surface. However, it can get very hot in the summer months – the surface can become sticky, and its shape can even be affected, such as showing up tyre marks.
Concrete Driveways
A concrete driveway is probably the most low-maintenance option for your customers, although over time cracks may develop. A concrete driveway surface is very easy to install and serves its purpose well, although it might not look the most glamorous.
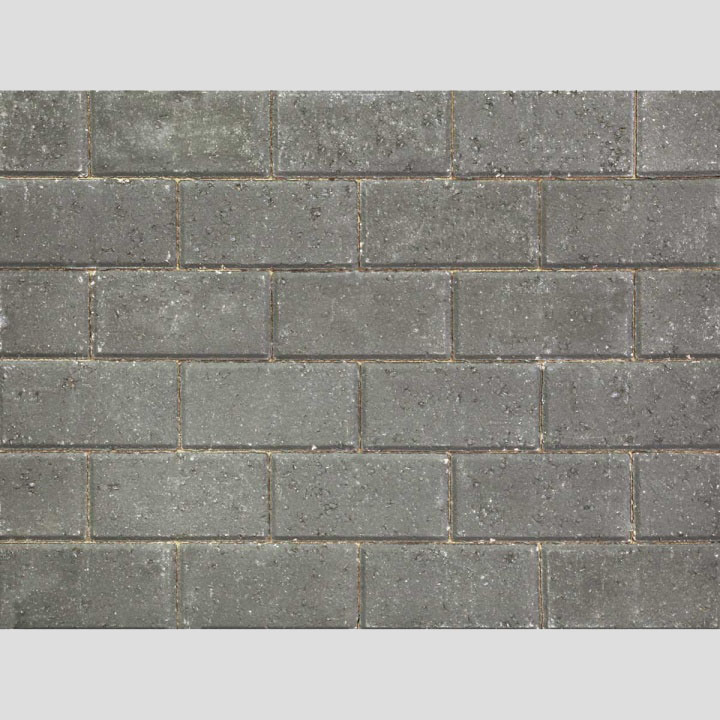
Block Paving Driveways
Laying a block paving driveway has been increasing in popularity over the years, as it’s an excellent choice for creating beautiful bespoke outdoor spaces for your customers. Block paving is most often made of concrete (CBP) and can be used for driveways, patios, and more – you can even install block paving steps for entrance doors to add a sophisticated look and feel.
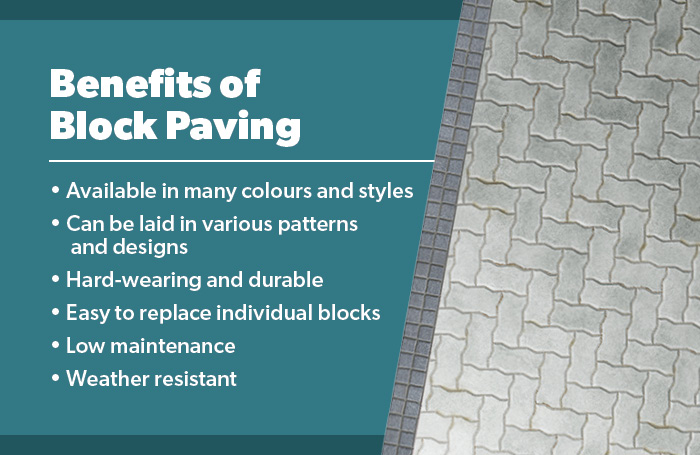
What are the Benefits of a Block Paving Driveway?
As well as having many uses in outdoor areas, block paving, also known as pavers or CBP, come with a variety of features and benefits:
- Various colours and styles: Block paving is available in a multitude of colours, patterns, shapes, sizes and textures, so you’re sure to always find something to suit your customers' needs. Whether they’re after a traditional look and feel for their property or something more contemporary, the sheer number of colours and textures available make anything possible.
- Can be laid in different patterns: How your customer wants their block paving to look is completely up to them. With endless configurations and patterns for the block paving to be laid in, they’re the perfect option for creating a beautiful, unique driveway for your customer that is personalised to their tastes and preferences.
- Hard-wearing and durable: When installed correctly, a block paving driveway is extremely durable and able to withstand plenty of years of foot traffic and vehicle traffic.
- Easy to replace: Due to the nature of installing each block paver individually, they can be replaced individually too. This makes small repairs extremely easy if one or a couple of blocks get damaged, keeping repair and maintenance costs down.
- Low maintenance: Block paving is very easy to take care of. When it’s properly sealed during installation and cleaned regularly with a simple hose down or pressure washer, your block paving will look clean and bright for years to come.
- Weather-resistant: Usually, your block paving will be made of concrete. Concrete block paving is extremely resistant to the elements, temperature, and erosion, making it suitable for all weather conditions and environments.
Are there any Disadvantages to a Block Paving Driveway?
While there’s no denying the many various advantages of installing a concrete block paving driveway, there are a few things your customer needs to consider before confirming their choice:
- Expensive: Block paving is no doubt a little more expensive than some other options available like concrete or gravel. But if your customer can spare a little more expense, the results they can achieve with block paving are far more aesthetically pleasing than gravel or concrete.
- Skilled installation: The installation of block paving when compared with gravel or concrete requires a lot more labour and time. There are a lot of steps involved, and it can take a good amount of time to install each block individually, but a beautiful finish can be achieved with patience and precision.
- Sealing and cleaning: A block paving driveway will need to be properly sealed to maintain its durability, to prevent water seeping through and to stop weed growth. It will also need to be cleaned properly to maintain its appearance and longevity.
Preparing to Lay Block Paving
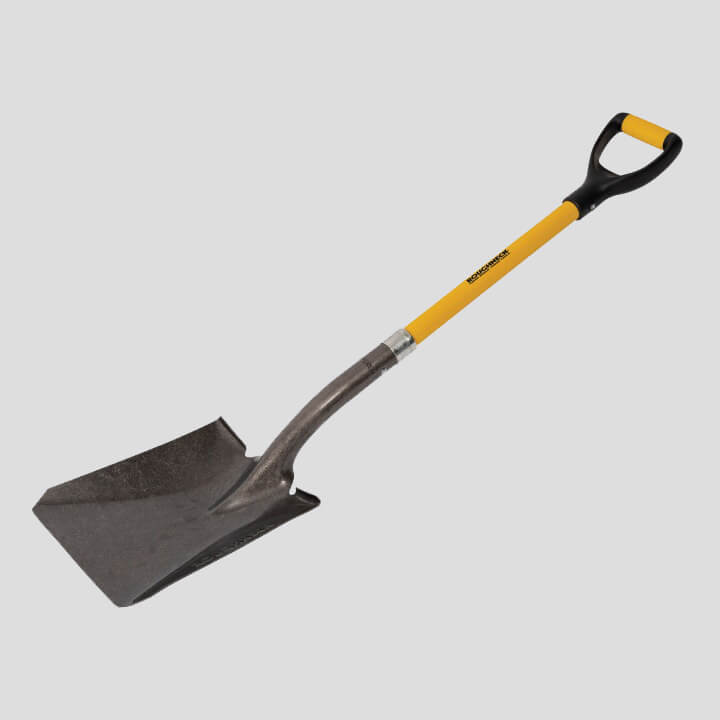
1.Gather your tools and materials
The exact tools you’ll need will differ from project to project, but in general you’ll need the following:
- Spade
- Broom
- Rake
- Mallet
- Builders’ Line
- Wooden Pegs
- Spirit Level
- Tape Measure
- Wheelbarrow
- Soil Compactor
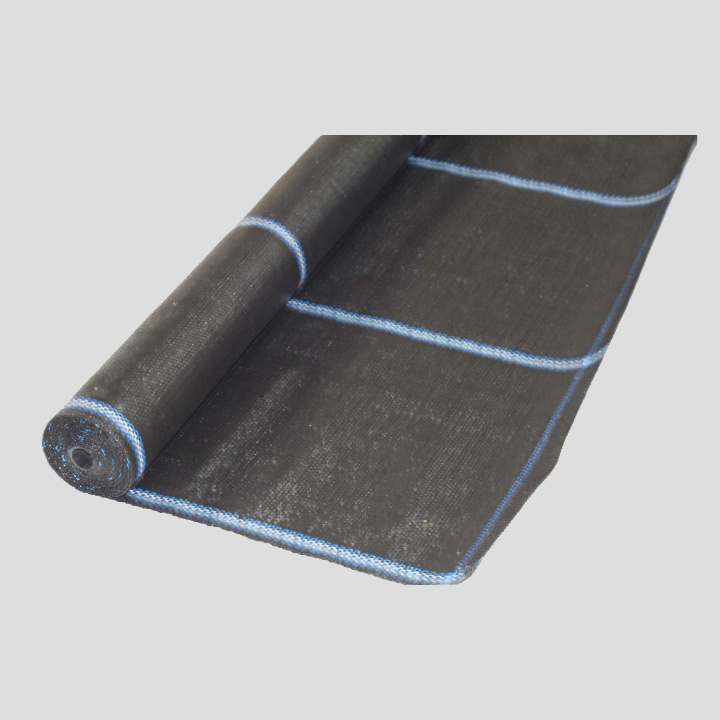
- Sub-base Aggregate
- Sharp Sand
- Kiln-Dried Sand
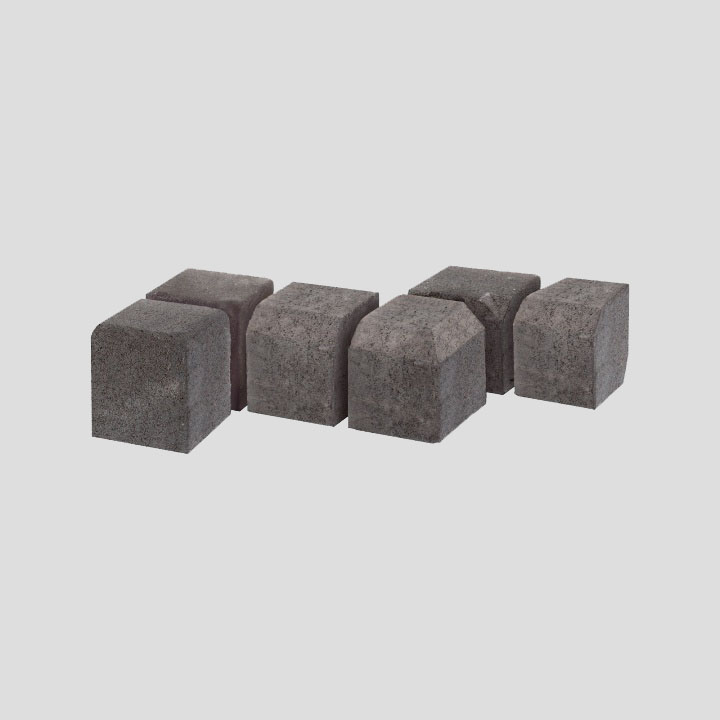
- Block Paving and Edging
- Concrete Mix
2.Create the design and measure out the area.
Your customer might already have their design in mind, but you’ll need to check everything over and make sure what they want is possible in the space they have available. Take into account any obstacles and other environmental factors. Draw out the driveway design on some paper and work out your measurements after using your tape measure, which will help you calculate how many m² of block paving you’ll need to buy.
Then, using your builders’ line and wooden pegs, mark out the area the block paving is going to be laid.
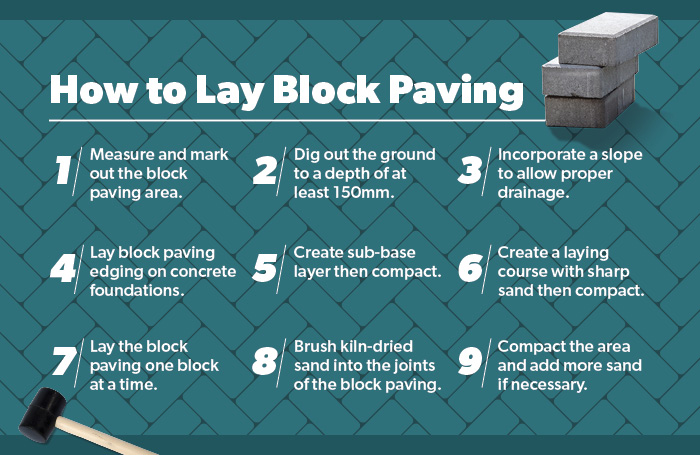
How to Lay Block-Paving: Step-by-Step
Whether you’re here to learn how to pave a driveway or how to lay a block paving path, the steps will be the same. No matter the type of outdoor space you’re transforming, you’ll need to lay a base, install paving edges, lay the block paving and brush in kiln-dried sand. Follow our handy step-by-step guide below to achieve the best finish possible on your block paving driveway, path or patio.
Step 1: Start digging. When laying block paving on soil, you’ll first need to clear the area of any debris such as tree roots or plants. Using your spade, you’ll need to dig out the area for the block paving to a depth of at least 150mm-250mm below whatever will be next to the paving.
Step 2: Create a gradient for drainage. Where the ground is flat, you’ll need to incorporate a gradient, or slope, during the excavation process to allow sufficient drainage for rainwater. Dig out a further 10mm drop every 600mm to allow the rainwater to drain away properly.
Step 3: How to lay block paving edges. Before you put down anything else, it’s a good idea to lay your block paving edging, also known as driveway kerbs. Use your builders’ line to mark the finished height of the paving. Use a concrete mix of cement and ballast at 1:6 (1 part cement, 6 parts ballast) to create 100mm concrete foundations that come up to 30mm below the line. Sit your block paving edging along the concrete foundations and gently hammer them in place using a rubber mallet.
Step 4: Create a sub-base layer. Your block paving sub-base will act as the main supporting layer for the blocks, and you’ll want to use a hardcore aggregate such as MOT Type 1 Roadstone. The block paving sub-base depth should be around 100-150mm, using a compactor plate (also known as a wacker plate) to ensure the layer is fully packed down. A good way to do this is to lay 75mm of aggregate, compact it down, then repeat the process.
Step 5: Add a sand laying course layer. Next, you’ll need to add a layer of concreting sharp sand to a depth of 50mm to act as a bedding or laying course. This layer will help make up the distance between the sub-base and the final paving line – make sure the sharp sand is slightly damp and remember to mould the sand to incorporate slopes.
Step 6: How to lay pavers. Starting in one corner at the lowest level of the block paving (the bottom of the slope), begin to lay your block paving in the desired pattern for your customer, taking it one block at a time. It’s a good idea to slightly dampen the underside of the paver before placing it on the sand and gently hitting it with your rubber mallet to bed it in. The blocks should sit around 10-15mm above the final height you’ve marked with your builders’ line – you'll compact the paving once the whole course has been laid.
Step 7: Brush sand into the paving joints. Using a broom and some kiln-dried sand (or paving compound), brush the sand into all the joints between the block paving to prevent future lateral movement. Compact the paving (you can use a wacker plate with a rubber cushioning mat to prevent any damage to the blocks) and add more sand into the gaps until all joints are filled, repeating the process as necessary. The finished result should be a firm, compacted, stable course of block paving.
How to Seal Block Paving
Step 1: Clean your block paving. Before sealing a block paving driveway or path, clean the whole area with a pressure washer and leave it to dry properly – we’d recommend about two weeks of drying time.
Step 2: How to re-sand block paving. Refill the joints with kiln-dried sand or jointing compound in case any sand has been displaced during the cleaning process. Just like the first time, brush the sand into the gaps using a broom and ensure even coverage.
Step 3: Seal the block paving. Use a paving sealer and roller kit to spread the sealer all over the block paving area. It might take a few coats to get complete and even coverage over the entire driveway. Ensure it’s applied thoroughly between the joints. If you apply too much, the sealant will be too thick to seal, and if you don’t apply enough, you won’t get enough coverage. Leave the first coat for a couple of hours until it’s tack dry.
Step 4: Apply a second layer of sealer. For the second coat of paving sealer, you can use the roller kit again or fill a sprayer with the sealer and spray it over the block paving at an angle. Either way, make sure to get complete and even coverage over the whole area of pavers. Leave to dry for at least 24 hours.
Get the supplies you need to lay turf
FAQs
-
Can you lay block paving on sand and cement?
It's possible to lay block paving on sand and cement, and this is known as ‘rigid’ block paving. However, it’s better to dig out the ground and bed the block paving on a hardcore sub-base and sharp sand if you can.
-
Can I use sharp sand for block paving?
Yes – use sharp sand as your laying course, above the hardcore aggregate sub-base and below your block paving. Sharp sand is ideal due to its coarse texture – fine building sand is too soft and will not provide the firm, level foundation needed.
-
What sand do I use for block paving?
Kiln-dried sand is the best sand to use for block paving joints. It’s a very fine, dry sand with no moisture that can be easily brushed into the joints between driveway pavers. Alternatively, you can use paving compound for your joints.

By Rae Davis
Rae is a Digital Copywriter within the Selco Team with 10 years' experience in the construction industry and specialises in long-form content writing. With a love for research and simplifying complicated information into easy-to-follow content, she is known for her handy how-to blogs. When she’s not at her desk, she’s got her head either in a book or up in the clouds.
< Back to Gardening and Landscaping