
Is your customer looking to create a beautiful and bright green garden space, but doesn’t want the maintenance and upkeep of a real grass lawn? Artificial grass is a fantastic modern alternative to natural turf and will last for many years.
Here we’ve put together a handy artificial grass installation guide for you and your customer’s benefit, where we’ll talk about what artificial grass actually is, its advantages and disadvantages, and a step-by-step guide on how to lay an artificial lawn.
What Exactly is Artificial Grass?
Artificial grass is a synthetic turf specially designed to mimic the appearance of real grass. It’s pretty much maintenance-free, which makes fitting artificial grass the ideal choice for busy customers who want the look of natural grass but don’t have the time or the desire to look after a real lawn.
Fake grass is usually made from a mixture of fibres (often polyethylene), infill (a material such as recycled tires worked into the gaps between the fibres), and a backing (a base layer to which the fibres are sewn onto). Artificial grass will often contain additives, such as colourant or UV stabilisers, to enhance the grass’ appearance and durability.
What are the Different Types of Artificial Grass?
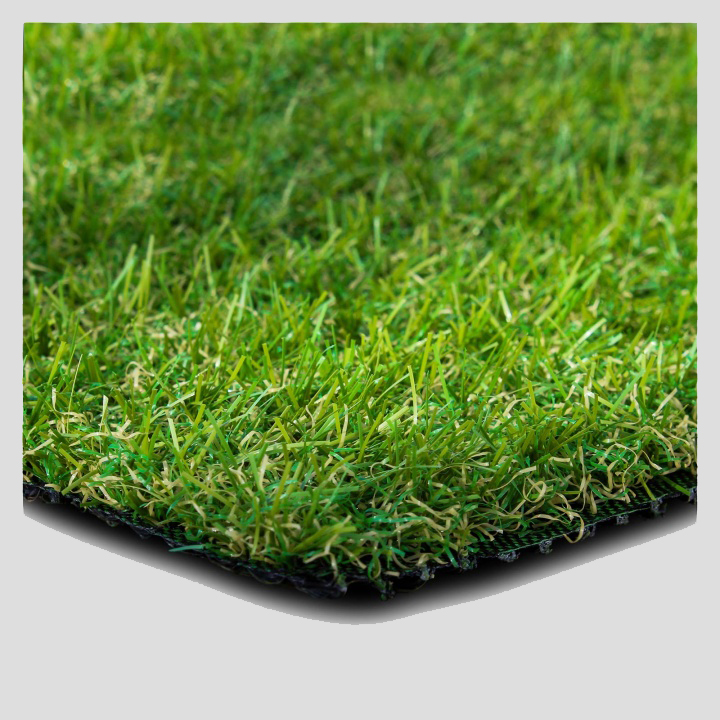
There are several types of artificial grass with varying pile height, density and colour. Pile height refers to how tall the grass is, and this can vary from 25-35mm depending on how ‘freshly cut’ you want your artificial lawn to appear. The density of the fake grass refers to its thickness, or grams per square metre (GSM), which indicates how densely woven the yarn is. The denser the weave, the springier and more luxurious the grass looks.
Next is the colour: believe it or not, but grass doesn’t come in just one shade of green! If your fake grass is too green, it’ll look unnatural, so instead you’ll want grass with a hint of brown often referred to as a ‘thatch’ or ‘brown root zone.’ Our Luxigraze artificial grass has a multi-green pile with a brown thatch providing a natural and realistic appearance.
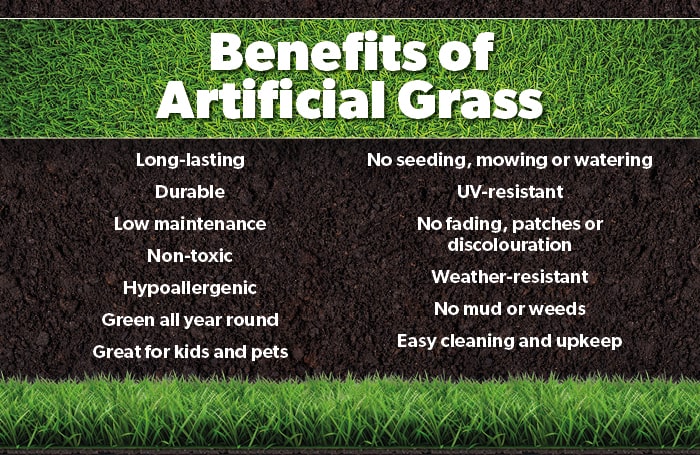
What are the Benefits of Artificial Grass?
There are several reasons your customers will want to opt for fitting artificial grass instead of a natural lawn:
- Long-lasting: An artificial lawn can last for as long as 20 years depending on where it’s located, the amount of footfall it gets, and how well it’s looked after. A fake lawn that’s used heavily will last around 10-15 years, while a lightly used lawn will last double that.
- Durable: Synthetic grass is extremely tough and hard-wearing, making it a great alternative to natural grass. It’s often used for garden spaces and sports fields, but it can even be used indoors. It’s highly resistant to fading, weathering and breaking.
- Low maintenance and eco-friendly: Artificial grass requires very little upkeep and maintenance. It won’t need to be mowed, seeded or watered and requires no pesticides or fertilisers, making it an environmentally friendly option too. Plus, artificial grass rolls can be placed in areas where natural lawn is struggling to grow.
- Non-toxic and non-allergenic: If your customer is a hayfever sufferer, an artificial lawn could be an excellent hypoallergenic alternative to real grass. It’s also great for kids and pets as its composition is completely non-toxic.
- Looks good all year round: Natural lawns are sensitive to the weather and environmental conditions which can cause discolouration or patchiness. It also requires soil to grow, which can cause muddy areas and weeds. Artificial turf is unaffected by the environment and allows for a consistent, clean finish. It’ll also stay green throughout the entire year, without the need for consistent watering or sunlight.
- Ideal for pets: It’s no secret that pets, such as dogs and cats, can create a lot of mess, from toileting to digging up soil. Artificial grass is extremely easy to hose down or even spot clean to prevent the build-up of mess and odours, and you can say goodbye to the brown patches that are often found on natural lawns.
Are There Any Disadvantages to Installing Artificial Grass?
Installing artificial grass can make life a lot easier for your customers, with many fantastic benefits from saving water to being an extra durable, hard-wearing and long-lasting alternative to a real lawn. However, there are a couple of points about the installation of fake grass that your customers will need to consider carefully.
- Initial cost: Depending on the type of artificial grass your customer wants, and the amount of ground needed to cover, the price of artificial grass can creep up unexpectedly. You’ll also need extras such as weed membrane, fixings and adhesive to install the fake lawn. It’s cost-effective in the long run, however – your customers will save on water bills, garden equipment, fertilisers and much more.
- Installation: The actual installation of artificial grass can be more time-consuming than laying seed and fertiliser for a natural lawn. A fake lawn requires a completely flat and porous base to allow for sufficient drainage: if proper drainage isn’t considered, problems such as stagnant water and unpleasant odours can occur. So, the installation needs to be professional and accurate which can take a while for full lawn replacements.
- No freshly cut grass smell: The smell of freshly cut grass is a widely loved scent, which will disappear with the installation of a fake lawn. Although, for those that suffer with hayfever, that might be a good thing!
- Reducing habitats for wildlife: A natural lawn can be its own ecosystem, with many plants, insects and even small animals that roam through the grass. Installing fake grass can remove this habitat, but your customer can combat this by ensuring the rest of their lawn has areas for the wildlife to thrive, such as plants and flower beds. The soil underneath the artificial grass will still be home to plenty of creatures such as worms and bugs!
If your customer has instead opted for real turf, we've got a handy step-by-step guide on how to lay turf over on our Toolkit blog, where we talk about the benefits of real turf lawns, how to prepare the ground and how to lay turf rolls.
How to Install Artificial Grass, Step by Step
Installing a fake lawn is a straightforward process once you have the right tools and equipment and you’ve got a good base sorted. Here we’ll go through the step-by-step process on how to install artificial turf on soil and concrete.
Choosing the right base for artificial grass is the most important part of the installation. In some gardens, the existing soil can be used as the base for artificial grass but only if it’s properly compacted. You may need to compress the soil with a compactor to create a complete flat and firm surface. You’ll still need to add a base of aggregate and sand on top – installing fake grass directly onto soil is sure to cause issues.
You’ll also need the right tools and equipment for the job. No matter the base you’re laying artificial grass on, you’ll probably need the following:
- Turf cutter
- Utility knife
- Shovel
- Tape measure
- Artificial grass rolls
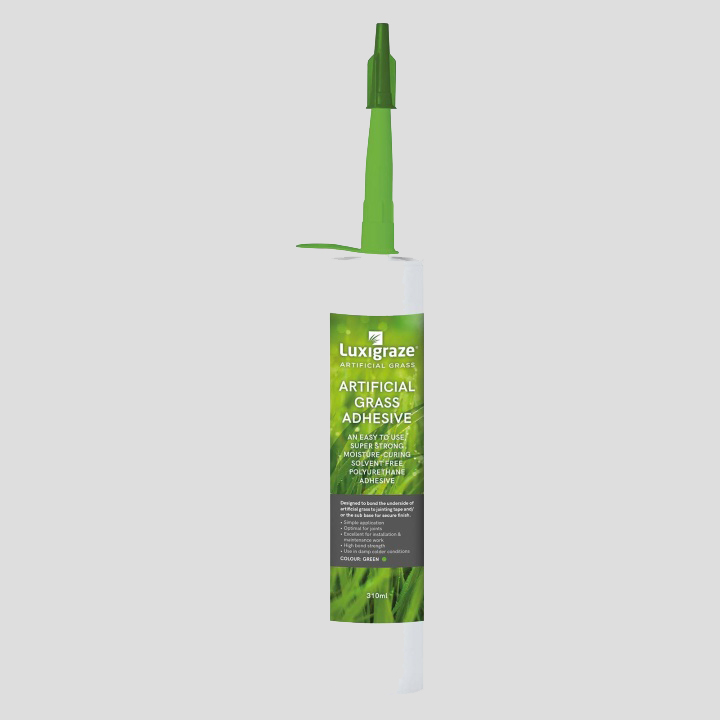
- Artificial grass adhesive
- Jointing tape
- Fixing pins / galvanised nails
- Hammer/mallet
- Compactor
- Sand spreader
- Safety gear i.e. gloves & knee pads
- Timber edges
- Sub-base (i.e. crushed stone)
- Sand or granite dust layer
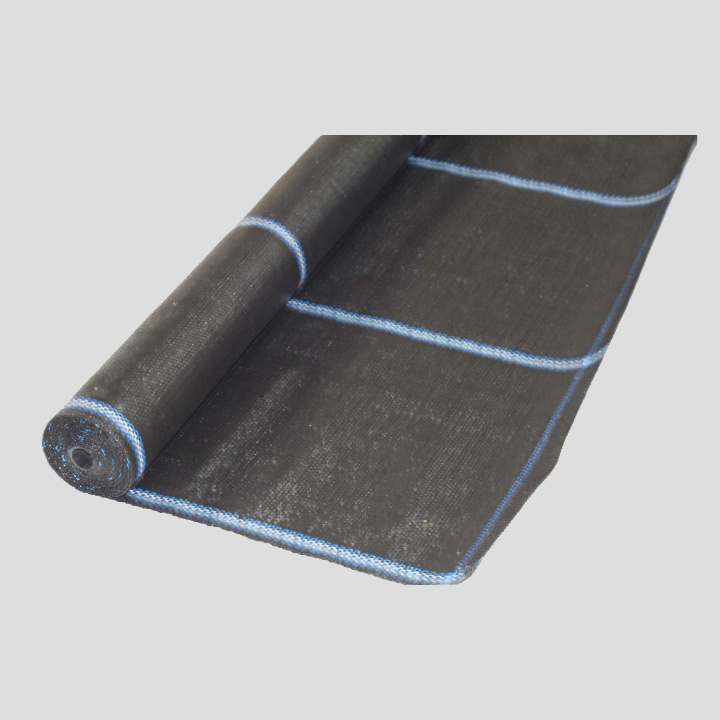
- Weed control membrane
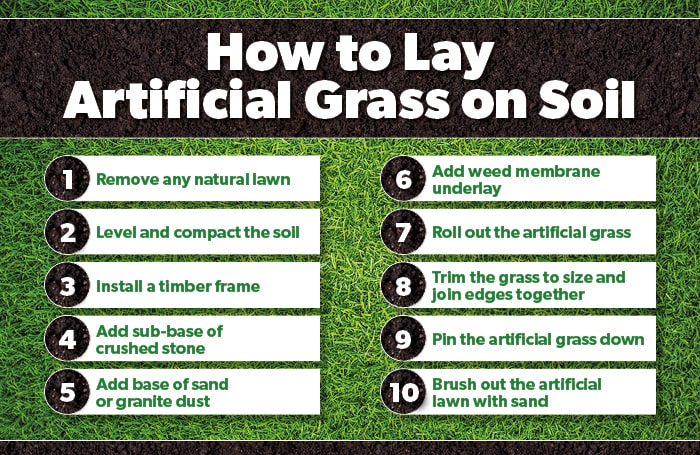
How to Lay Artificial Grass on Soil
Step 1: Remove the current natural turf. Depending on the size of your customer’s lawn, use a spade or a turf cutter to remove the old natural lawn. Make sure to dig the soil deep enough to fit the new artificial turf on top (usually down to about 100mm). When you’ve finished digging, take the time to remove any debris including weeds, rocks or branches, and make sure all grassroots have been removed. You can apply weed killer if necessary.
Step 2: Level and compact the soil. The most important step of the process is making sure the ground is completely level, so you’ll need to remove lumps, bumps and stones that might be getting in the way. You can use a whacker plate or hammer or hire a soil compactor. Uneven ground can lead to drainage problems and other difficulties during the installation.
Step 3: Add a timber frame. This step is optional, but here you can lay timber edges onto the ground to attach your artificial grass to later to keep it extra secure. Construct your timber frame on the ground and make sure it doesn’t sit higher than the artificial grass is intended to be.
Step 4: Add the sub-base layer. Next add the sub-base aggregate layer, which could be crushed stone, gravel or MOT Type 1 roadstone – this will aid with proper drainage. Add the base layer to a depth of 50-70mm and use the compactor again to compact and level the aggregate.
Step 5: Add a layer of sand or granite dust. After the timber edges and base layer are finished, add a layer of sand or grano dust to act as the base for your artificial grass. Smooth out the sand, fill in any gaps and make sure it’s brought up to the required height. This layer needs to be as compacted and smooth as possible for your artificial grass to be installed correctly.
Step 6: Add weed membrane underlay. Laying a protective layer of weed membrane here is important to stop any weeds or flowers growing up through the artificial grass. You can lay the weed membrane on top of, or underneath the base, depending on your customer’s preference. Here you can also add a layer of shock-absorbing material which can be a handy addition especially if there will be children playing regularly on the artificial turf.
Step 7: Roll out the artificial grass. Carefully roll your rolls of artificial grass into place - allow around 50mm of overhang on each edge and make sure the directional pile is all facing the same way. It’s a good idea to leave the artificial grass to ‘settle’ for at least 3 hours or ideally overnight – this will help it take its shape and prevent any creases.
Step 8: Trim and join edges together. Using a sharp utility knife to cut the fake grass, trim the edges and cut your grass area to size. If you’re wondering how to join artificial grass, it’s simple: you’ll need some joining tape and adhesive specialised for outdoor use. Lay the joining tape down and apply adhesive, then pull the grass edges together to join. Work your way down the seam, pressing down to ensure a secure joint where no fibres are accidentally caught in the gap.
Step 9: Pin the artificial grass down. If you’ve installed timber edging, use galvanised nails to fix the artificial grass to the frame. If not, you can use landscaping pins to secure the grass into the ground below.
Step 10: Brush out the artificial lawn. After all that work, the artificial grass might be a little flat – pour an even layer of kiln-dried sand over the grass and use a stiff bristle brush to even everything out and brush the sand into the fibres, making sure to brush against the direction of the pile.
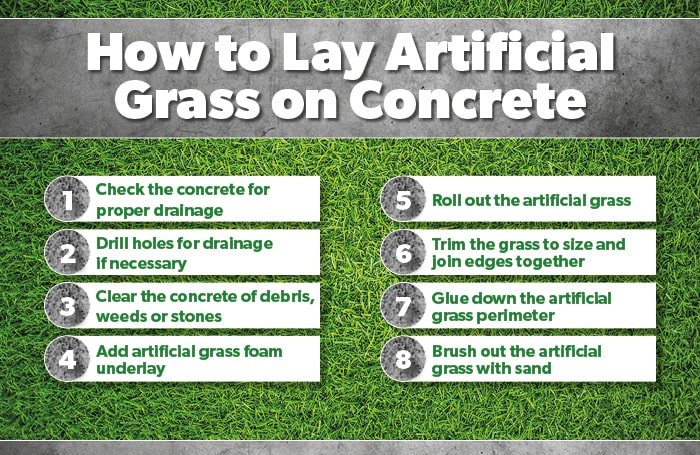
How to Lay Artificial Grass on Concrete
If you’re looking for advice on how to lay fake grass on concrete or paving slabs instead of onto a soil base, we can help with that too. In fact, a concrete base is in some ways easier for installation as you won’t need to dig out any soil and a concrete base will be level.
Step 1: Ensure your concrete base has proper drainage. The main thing you need to consider when installing artificial grass on concrete is ensuring there is proper drainage. Your concrete base could have a slight slope to ensure water runoff, or you could drill holes through to the ground and fill them with pea gravel.
Step 2: Clear the area. Your concrete surface needs to be smooth and level. Make sure the concrete is thoroughly cleaned and brushed down with a stiff broom to remove debris like moss, weeds or loose stones, and any bumps are smoothed down.
Step 3: Install foam underlay. You might be thinking: do you need underlay for artificial grass on concrete? The answer is yes - even after clearing the area and getting your concrete base as level as possible, it’s unlikely the concrete will be perfectly smooth, so it’s a good idea to lay some high-quality, shock-absorbing foam underlay. This will hide any cracks or imperfections in the concrete which would show up under the installation of the fake grass. Choose a foam underlay designed for artificial grass to ensure correct drainage.
Step 4: Install your artificial grass. Here you can follow the same steps as above, rolling out your artificial grass, cutting it to size and joining all the edges together.
Step 5: Glue down the perimeter. To secure the artificial grass to the foam underlay, fold back the grass edges and apply a layer of artificial grass adhesive around the perimeter of the lawn. It’s a good idea to stay off the grass for a few hours, or ideally overnight, to allow the glue to cure properly.
Step 6: Brush out the artificial lawn. Pour an even layer of kiln-dried sand over the grass and use a stiff bristle brush to even everything out and brush the sand into the fibres, making sure to brush against the direction of the pile.
Get the supplies you need to finish your artificial grass project
Now that you’re clued up on how to install synthetic grass, you can collect all your supplies with us to get the job done.

FAQs
-
Can you lay artificial grass on slabs?
Yes, you can lay artificial grass on paving slabs and block paving just the same as you would concrete. Make sure to check the paving has sufficient drainage – hose down the paving and check to see if any puddles form. You can drill holes where the puddles form and fill them with pea gravel to aid drainage and ensure a high-quality installation for your artificial lawn.

By Rae Davis
Rae is a Digital Copywriter within the Selco Team with 10 years' experience in the construction industry and specialises in long-form content writing. With a love for research and simplifying complicated information into easy-to-follow content, she is known for her handy how-to blogs. When she’s not at her desk, she’s got her head either in a book or up in the clouds.
< Back to Gardening and Landscaping