What Does GRP Stand For?: GRP vs FRP
GRP stands for glass-reinforced plastic and can also be known as glass-reinforced polymer, fibreglass or composite polymer. It belongs under a larger umbrella term of fibre-reinforced polymer (FRP). GRP and FRP are often used interchangeably, but FRP is a broad term used to refer to any fibre-reinforced material such as glass or carbon.
So, what is fibreglass? GRP fibreglass is a high-strength roofing material made from a polyester resin, which is reinforced by a glass fibre chopped strand matting (CRM) to form a GRP laminate. It’s finished with a fire-retardant topcoat, making it highly durable and long-lasting. The composite roof is waterproof, chemically resistant and strong, making it an excellent choice for construction, marine and aerospace industries.
GRP roofing is fast becoming one of the most popular roofing solutions, thanks to its durability and cost-effectiveness. It’s been a reliable roofing material for over 50 years but has soared in popularity thanks to new systems such as the Cure It GRP Roofing System.
From garages and extensions to outbuildings, GRP is a great roofing solution for all your projects requiring a flat roof. In this blog, we’ll walk you through the benefits of using GRP products, as well as the step-by-step installation process.
What is GRP Material Made Up Of?
GRP fibreglass is a composite material made from polyester resin and glass fibre chopped strand matting. If you’re wondering how GRP is made, the roofing system consists of multiple parts, including board decking, resin, fibreglass matting, a topcoat and fibreglass trims.
What is a GRP Roofing System and Where is GRP Used?
GRP lends itself best to flat roofs. It can be used on commercial and domestic roofs, balconies, walkways and bay windows. In fact, the structure of glass-reinforced plastic responds so well when exposed to adverse weather, heavy rain and temperature extremes that it’s even used to make boats and pond liners.
What are the Properties and Benefits of GRP?
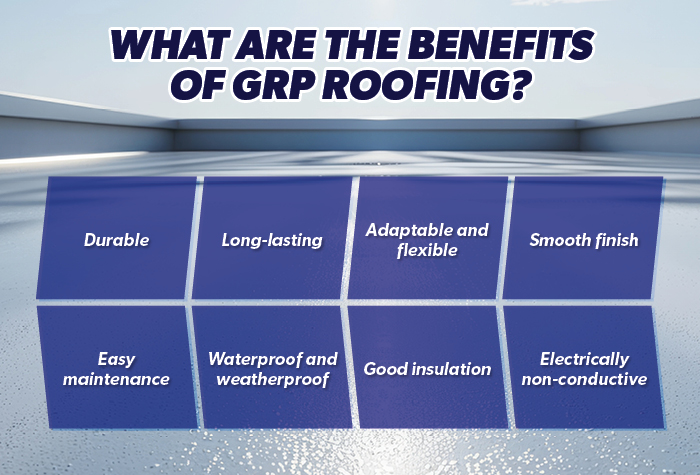
GRP is a popular choice for flat roofs for several reasons:
- Durability:One of the key benefits of this type of roof is that it’s extremely strong and durable with a high strength-to-weight ratio. Glass fibre reinforced by plastic offers long-lasting support and won’t degrade like traditional materials such as felt. It has excellent resistance to chemicals, insects and erosion.
- Longevity: GRP roofs are incredibly long-lasting. Once you’ve fitted a fibreglass roof, it’ll last for at least 20 years.
- Adaptability: The mixture of resin and glass can easily be shaped and fitted to any type of roof area, even if it's an awkward shape or if there are structures to work around.
- Smooth finish: The material used for the roof is a liquid, meaning there aren’t any joints or seams left after installation. This creates a smooth finish that gets into all the little nooks and crannies of the roof.
- Easy maintenance: GRP roofs are unlikely to get damaged as there are no seams, joints or welds to worry about. That means you’re unlikely to be called back out to make repairs any time soon.
- Watertight seals: There aren’t any gaps left at the joints or seams, meaning that GRP roofs are completely weatherproof. This is particularly important for flat roofs, where the accumulation of water on the surface can lead to damage.
- Insulation:GRP roofing offers excellent thermal and sound insulation, helping to keep the building warm and reduce energy loss.
- Non-Conductive:A GRP roof is electrically non-conductive.
What GRP Products Do You Need?
To fit a GRP roof, you’ll need:
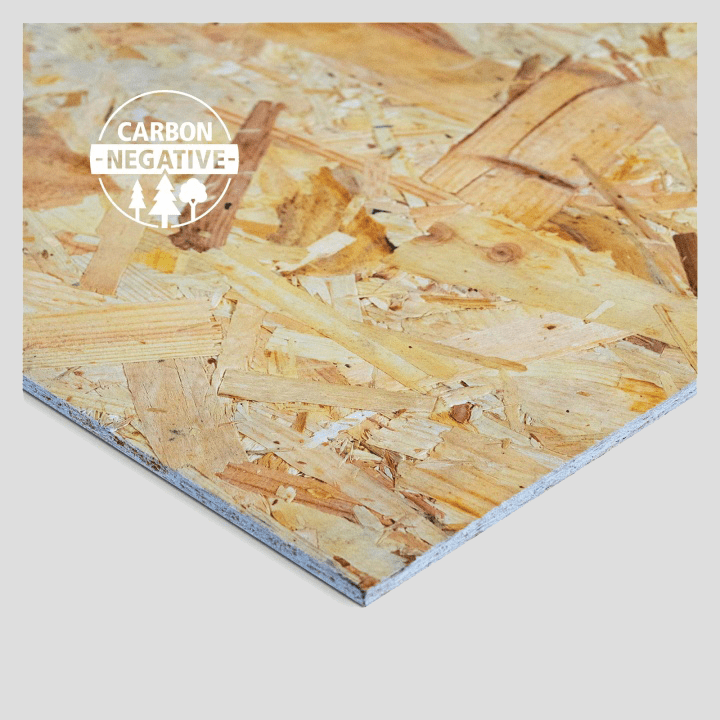
- OSB3 boards
- Glass matting
- Reinforcement mat
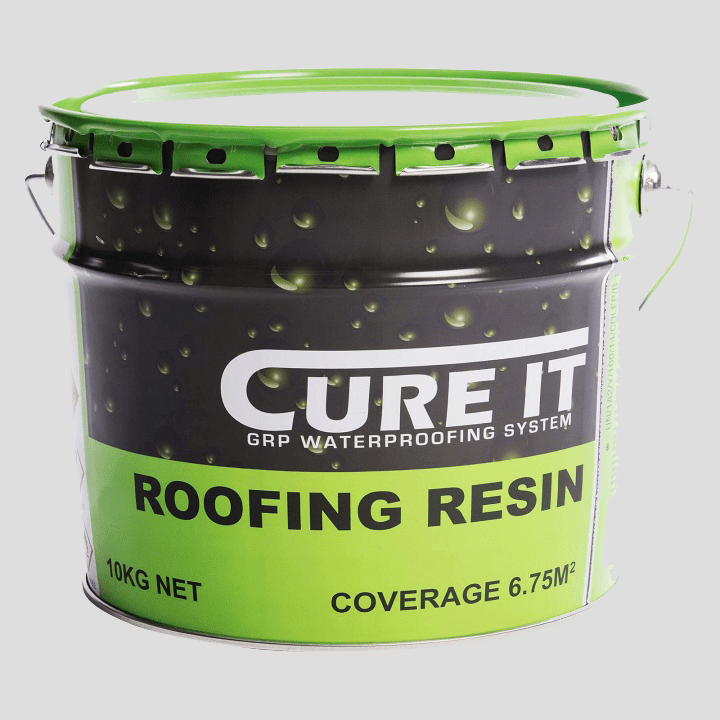
- Roofing resin
- Roofing topcoat
- Hardener
- GRP edge trims
- Roller
Our full Cure It GRP roofing kits are a great, cost-effective option that include everything you need to install a fibreglass roof.
How to Install a GRP Roofing System
Installing a GRP roof is straightforward and extremely cost-effective – you can install the roof in just one day if you’ve got the right weather. Below is a step-by-step guide on how to install GRP roofing:
Firstly, a layer of GRP roofing resin is applied to dry roof decking, ideally OSB3 board. Then, a layer of fibreglass matting is laid on top, before another layer of resin is applied. Once this has been cured, it provides a waterproof finish. The topcoat is UV resistant and makes the roof more aesthetically pleasing as it is available in a range of colours.
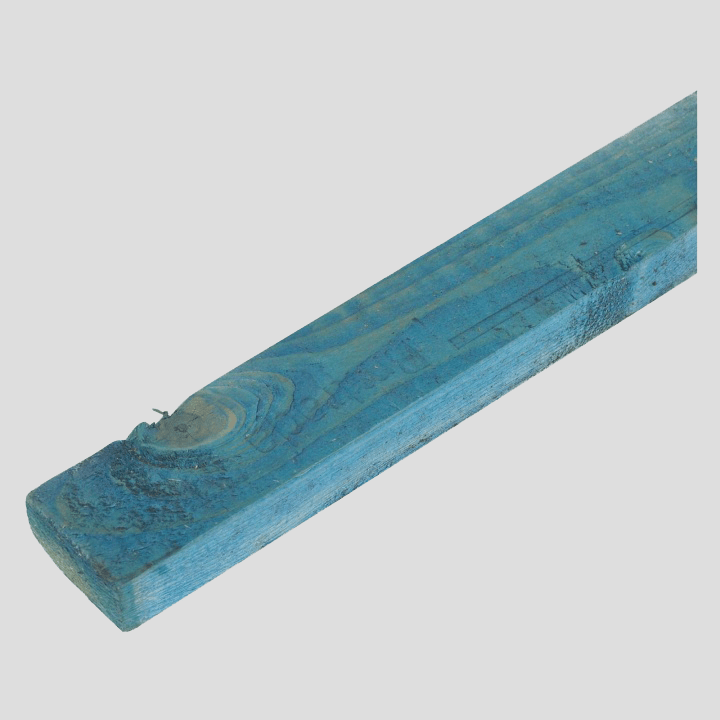
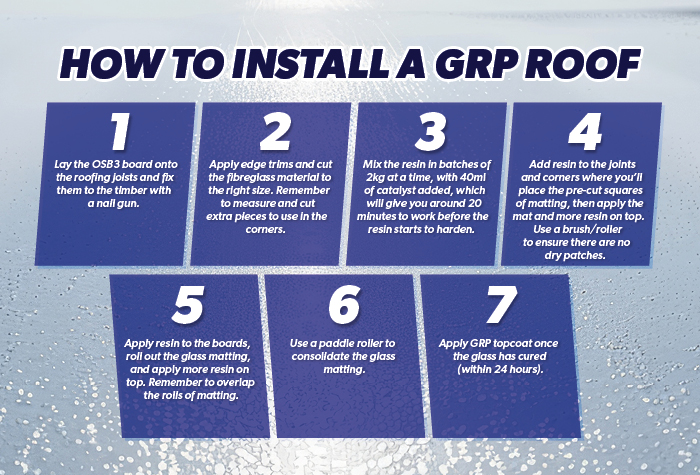
Step 1: To prepare the decking, you’ll need to hand lay the OSB3 decking joints at 90° angles to the roofing joists, with the writing side facing upwards to allow for better lamination. This will also enable the resin to flow into the board joints and act as an adhesive. Then you can lay the boards and fix them to the timber with an air or gas nail gun.
Step 2: Once this is done, apply edge trims and prepare for lamination by cutting the fibreglass material to the right size. You’ll also need to measure out and cut additional pieces of material to use in the corners.
Step 3:Before you apply the resin to the joints and corners of the roof, make sure you stir the resin in the tin before you start to mix any sediment in thoroughly. It’s best to mix the resin in batches of 2kg at a time, with 40ml of catalyst added, which should give you around 20 minutes to work before the resin starts to harden.
Step 4: Add resin to the joints and corners where you’ll place the bandage / pre-cut squares of matting, then apply the bandage and add more resin on top. Go over the resin with a brush or roller to ensure there aren’t any dry patches left.
Step 5: When adding the glass matting to the roof area, work in the same way – apply the resin to the boards (working from the furthest point from your roof access). Roll out the glass matting and apply more resin to the mat. Remember to overlap the rolls of matting. Use a paddle roller to consolidate the glass matting - this forms a waterproof laminate when cured.
Step 6:The final stage of the process is to apply the GRP topcoat once the glass matting has cured. This should be done within 24 hours if possible. Once hardened, you’ll be left with a smooth and seam-free roof that will last for many years to come.
For more advice, you can watch the full Cure It Video Installation Guide that shows each step in detail.
Are There Any Disadvantages to GRP Roofing Systems?
Your customer may initially be hesitant about the cost of fibreglass roofing. Although it may seem costly, it’s worth telling your customer about all the long-term benefits and explaining that it’s unlikely to require any further maintenance. In fact, it’ll last for decades to come!
You’ll need a good full day of weather for installing a new GRP roof. The temperature should be above 5°C (though you can go down to 0oC with lower temperature roofing resins), but no hotter than 30°C. If it’s too warm, the wax in the topcoat will melt, giving you a finish that doesn’t quite set properly and leaving it a little tacky to the touch. If it starts to rain, stop the job immediately, cover the roof and grab yourself a cuppa.
You should now be clued up on GRP uses, benefits, and how to fibreglass a roof. When you’re ready to install a GRP roof, you can order all the roofing supplies you need online or pick them up from your local Selco branch.
Get the Supplies you Need

By Rae Davis
Rae is a Digital Copywriter within the Selco Team with 10 years' experience in the construction industry and specialises in long-form content writing. With a love for research and simplifying complicated information into easy-to-follow content, she is known for her handy how-to blogs. When she’s not at her desk, she’s got her head either in a book or up in the clouds.
< Back to Roofing
