
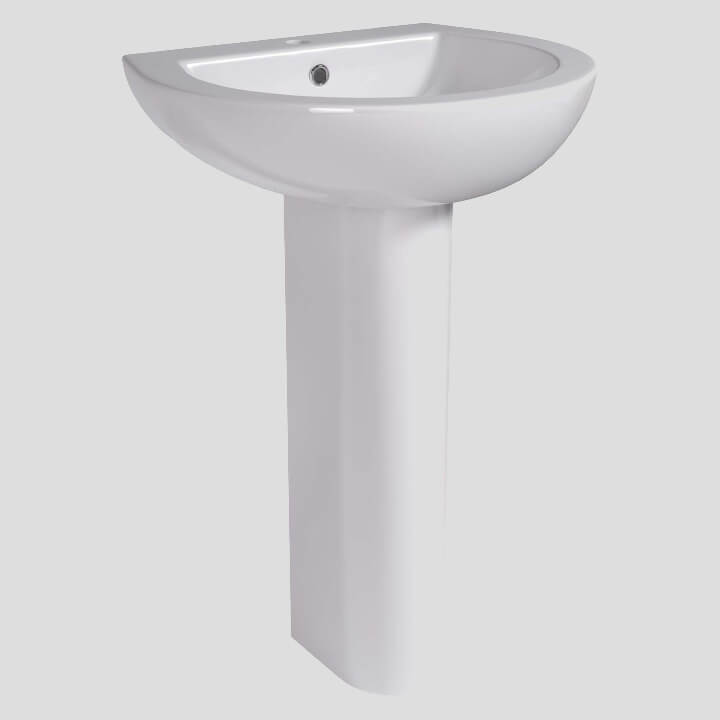
It’s a satisfying feeling to get to the stage of sealing your bathroom fixtures, as it’s one of the final tasks to tick off when completing your bathroom installation or renovation. Most of the hard work is over and the bathroom is coming together – now you just need to seal around the edges of the fixtures for the perfect finishing touch.
Sealing a bathroom is a simple task, but it’s crucial for a long-lasting, quality finish. Sealing around a bath, shower, toilet and sink is necessary to prevent water from seeping down the backs of fixtures or getting into gaps and causing damage to the walls and floors. While the task itself is relatively straightforward, your attention to detail and precision are still required to ensure a neat finish. No matter how well thought-out your bathroom design is, poorly sealed fixtures are sure to stick out and look unprofessional.
We’ve put together a handy step-by-step guide on how to seal a bathroom, focusing particularly on how to seal a bathtub and sealing a shower. Baths and showers are especially important to seal properly as they use a lot of water every day, with high levels of moisture and potential pools of water developing in and around the fixtures regularly. You can check out our other handy blogs too, such as how to plumb a bathroom or how to tile a bathroom wall.
Getting Started
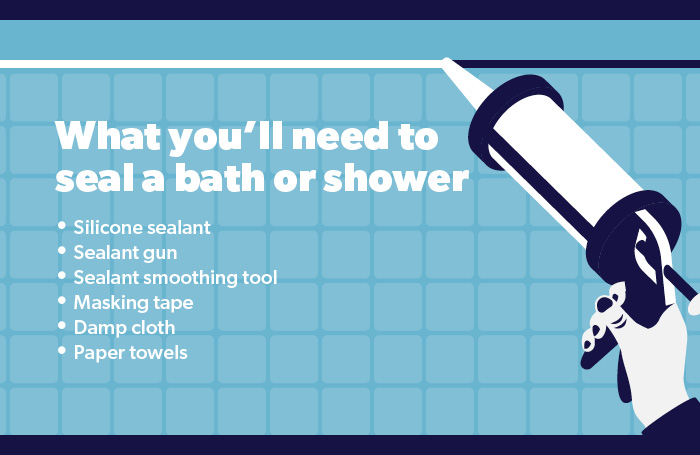
1. Gather your tools and equipment.
The exact tools you’ll need will vary depending on the job at hand, but in general you’ll need:
- Bathroom sealants
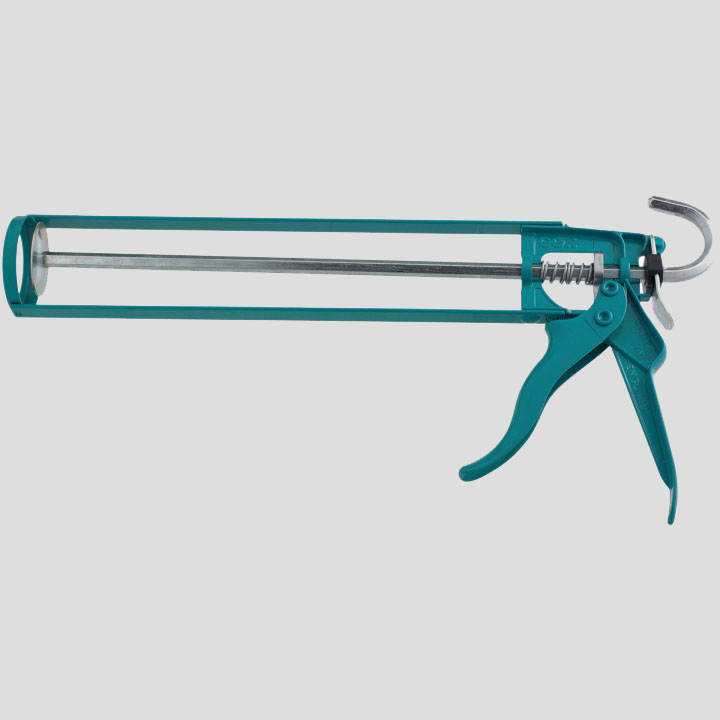
- Sealant guns
- Silicone sealant smoothing tool
- Masking tape
- Damp cleaning cloth
- Blue roll
- Washing up liquid
- Spray bottle
- Gloves
2. Check your sealant colours match.
Make sure to check carefully that the silicone sealant you’ve bought is a good colour match for the bath or shower you’re sealing. If it’s the wrong shade or colour, the sealant is sure to stand out and look unprofessional or even older than it is. Discoloured sealant is the last thing your customers will want in their brand-new bathroom.
3. Apply masking tape to surfaces.
It’s very important to apply some masking tape on either side of the sealant line to ensure none of the silicone gets onto any surfaces such as your ceramic fixtures and your bathroom floor and wall tiles. If you’re sealing a bath up against tiles, you’ll want to protect your brand-new tiles from any sealant residue that ruins an otherwise neat finish.
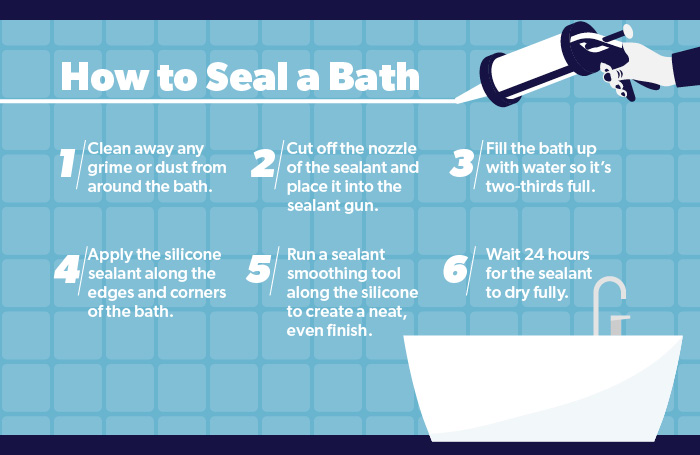
How to Seal a Bath
The steps below can be followed for both sealing a bath panel and sealing the edges around the top of the bathtub.
Step 1: Clean around the bath. Working with a clean bath that’s free from debris, dust or grime is crucial to achieving a good finish to your sealant. Clear the bath of any toiletries or other accessories then wipe the bath down with a wet wipe or damp cloth to remove any dirt and dust. The area needs to be dry, so once you’ve cleaned the bath’s edges make sure to wipe them down with blue roll or paper towels.
Step 2: Prepare the silicone sealant. Make sure you’ve chosen the correct sealant – the best bathroom sealant needs to be a flexible sealant that is waterproof and suited to moist areas like bathrooms. Begin by cutting the top of the silicone sealant with scissors or a utility knife. Then, cut the end of the nozzle at a slight angle, before placing your silicone sealant into your sealant gun.
Step 3: Fill the bath with water. It’s important to add some weight to the bath by filling it up so it’s about two thirds filled with water. Applying your sealant while the bath is filled will ensure that it won’t crack under the extra weight when the bath is in use.
Step 4: Apply the sealant. If you’re wondering how to apply bathroom sealant, it’s pretty straightforward. Start at the corner of the bath, hold the sealant gun at an angle and begin to gently squeeze the silicone out. Moving slowly in one fluid motion, you can run a bead of silicone along the edge of the bath. Repeat the process for all four corners and edges of the bath. Don’t worry about the silicone being neat at this stage – just make sure you’re keeping in between the lines of the masking tape and you’re getting the right amount of sealant in the joint.
Step 5: Smoothing and profiling the sealant. Here’s where you might want a handy sealant finishing tool, although some seasoned tradies simply opt for using their finger. Fill a spray bottle with warm, soapy water using washing up liquid and spray the smoothing tool. Starting at the corner of the bath, run the tool evenly along the line of the silicone so you end up with a neat, concave join. Repeat the process if you need to, until all the edges of the bath have a smooth, even line of sealant.
Step 6: Wait for the sealant to dry. Bath sealant drying time will vary project to project. Bathroom silicone sealant will usually be touch-dry within one hour but allow a full 24 hours for it to dry before emptying the bath of the water.
How to Seal a Bath with a Large Gap
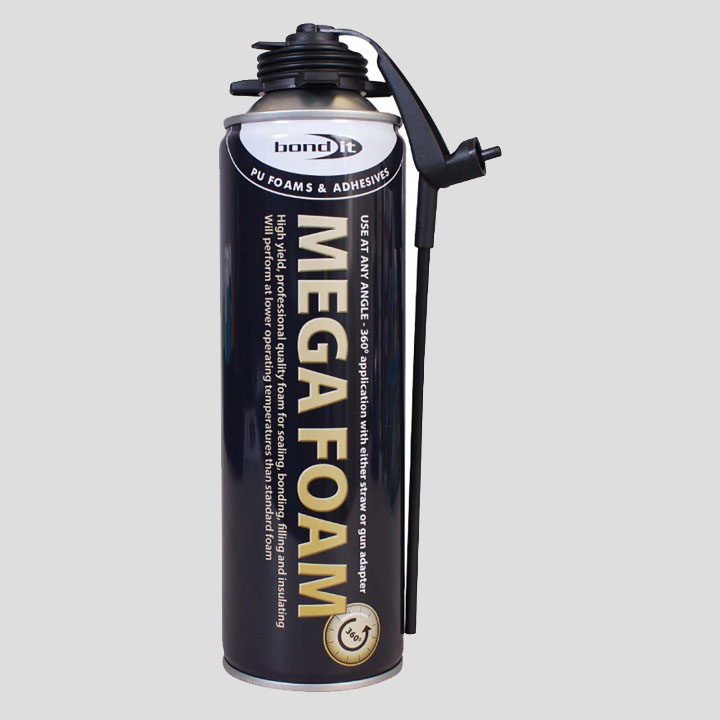
If you have an especially large gap between the bath and wall that you’re trying to seal, you might need to take a few additional steps. There are a few options you can try for sealing a bath with a large gap, including using a backer rod to fill the space with the silicone sealant on top, or filling the gap with expanding foam underneath the sealant.
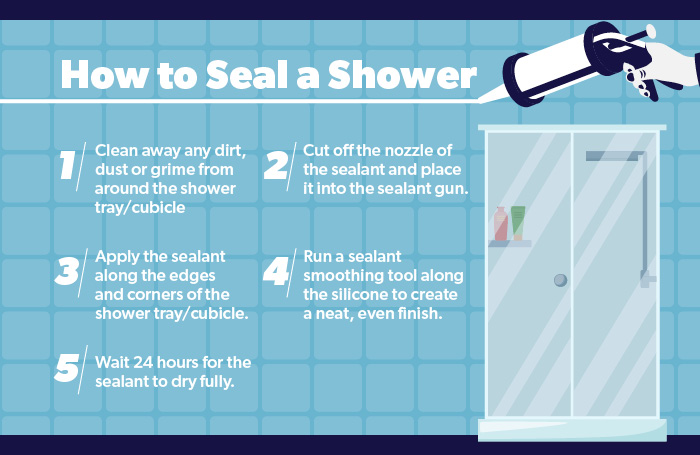
How to Seal a Shower
How to silicone a bath is a very similar task to sealing a shower tray or cubicle. Unlike sealing a bath, however, you won’t need to fill the shower tray with any water – in fact, you want it to be completely dry in and around the shower.
Make sure you’ve installed the appropriate waterproofing for your shower, such as waterproof tile matting for the walls.
Step 1: Clean the shower tray / cubicle. It’s crucial for the shower area to be completely clean of any debris, dust or grime, and that any accessories or toiletries are removed from the area to allow space for you to work in. Wipe the shower tray edges down with a damp cloth then dry everything with blue roll or paper towels.
Step 2: Prepare the silicone sealant. Cut off the top of the silicone sealant, then cut the nozzle at an angle before placing your sealant inside the appropriate sealant gun. Again, make sure you’ve chosen the right sealant that is suitable for bathrooms, waterproof and flexible.
Step 3: Apply the sealant. Using the same method as you would when sealing a bath, start at one corner of the shower tray/cubicle and gently squeeze out a line of silicone sealant running along the edge. Repeat for all four corners and edges until all of the shower tray is sealed. Apply a second layer if necessary, pushing the first layer down into the gaps with your finger.
Step 4: Smooth the sealant. Use your trusty sealant smoothing tool along all the edges of the sealant to ensure a smooth, even and straight finish. Spray the tool with warm, soapy water before you use it on the sealant. Repeat the process of smoothing and profiling the silicone if needed to ensure a straight, neat line.
Step 5: Wait for the sealant to dry. Bathroom silicone sealant will usually be touch-dry within one hour but leave the sealant to fully dry and cure for about 24 hours.
How to Remove Silicone Sealant from Showers and Baths
If you’re wondering how to reseal a bath or shower that just needs some fresh new silicone sealant, the steps will be exactly the same – you’ll just need to remove the old sealant first before following the above steps.
It’s best to use a specific sealant remover. Follow the instructions on the product and apply the remover all over the sealant edges. Use a sealant remover tool, which has a pointed end, to pierce the silicone sealant and scrape it away.
Get the supplies you need for sealing baths and showers

FAQs
-
How long do you leave water in a bath after sealing?
Leave the bath filled with water until the sealant is completely dry – this is usually around 24 hours.
-
What is the best bathroom sealant?
A flexible silicone sealant is best for sealing bathroom fixtures like baths, showers, sinks and toilets. Ensure the sealant is flexible to prevent cracking, as well as waterproof and mould resistant.

By Rae Davis
Rae is a Digital Copywriter within the Selco Team with 10 years' experience in the construction industry and specialises in long-form content writing. With a love for research and simplifying complicated information into easy-to-follow content, she is known for her handy how-to blogs. When she’s not at her desk, she’s got her head either in a book or up in the clouds.
< Back to Bathroom Advice